My First Extension
Note
AW Version: This tutorial is for Active Workspace version 4.0+ and may have some differences between the same steps in earlier versions.
Active Workspace is a Teamcenter Client that utilizes web technologies like node.js, angularjs and others to meet the needs of many engineering, manufacturing and other systems around the world. With these technologies na modern web development we can extend the Active Workspace to automate tasks on the client or display data a certain way.
To get started with this walkthrough make sure your environment is setup, and if you were able to have express running.
There are a few ways to create an extension within Active Workspace. For this tutorial however we will go over the generator that comes with the client and how to generate a tools and info panel.
Initialize the environment with initenv.cmd, this is located directly inside the Stage directory. Next go ahead and type generateModule to see the list of modules you can create.

Go ahead and for the type to generate type Command. My command name is going to be HelloWorld. My Icon will by cmdCheckmark, the icon can be any icon included in the stage/src/images folder. You can even put your own svg icons in there to use.
Command placement is where we will determine the anchor for this command. Anchor is a good description for what this does. Somewhere in our html we declare an anchor in a command bar, that anchor we can then use to display certain commands. OOTB command anchors are those listed in the generateModule.
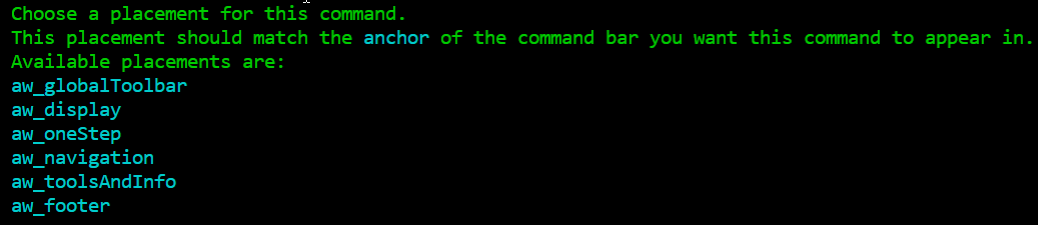
Like said earlier in this tutorial we will use the aw_toolsAndInfo anchor which is the right side commands. After typing aw_toolsAndInfo into the placement name it will generate HelloWorldViewModel.json, HelloWorldView.html inside of Stage/src under the new mysamplemodule directory.
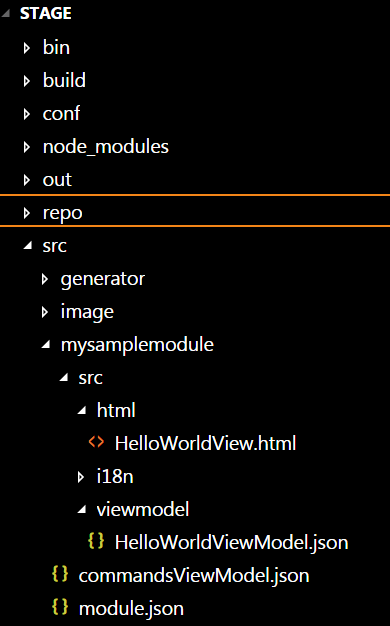
The Definition of your new command is inside commandsViewModel.json under mysamplemodule. The view and viewmodel are generated under the src directory.
Now you can run a gwtcompile or warRefresh to compile the client and view your deployed changes with your new war file: